I made a set of go boards out of medium-density fiberboard. They look nice and were inexpensive to make. This page has instructions for you to make your own.
The instructions presented here are to make one 19 × 19 board. You can make the appropriate changes if you want to make more than one board or a board of a different size.
| Materials needed |
|---|
| Medium-density fiberboard (MDF), 18 × 18 inches |
| One pint clear satin polyurethane |
| Four foam brushes |
| 220-grit sandpaper |
| 18-inch T-square |
| 18-inch ruler with millimeter markings |
| Two spring clamps |
| Pencil and eraser |
| Fine-point permanent marker |
| Ultra fine-point permanent marker |
| Craft knife or razor blade |
| Drill gauge or other stencil to mark star points |
Notes on the materials:
You can get all of these materials at your local home and office centers. I recommend shopping at the Home Depot. The people there are friendly and they answer your questions.
When I bought it, the medium-density fiberboard was sold only in big sheets of 4 × 8 feet. The store will probably cut it for you, though they might charge you for the whole sheet. The thickness of the fiberboard is not really important, but a thicker board is more desirable. My boards are made of 3/4-inch MDF.
A fine-point permanent marker draws lines about 1.5 mm thick. 4-mm star point markers over these lines are to my eye nicely understated.
There are permanent markers that have a fine point on one end and an ultra-fine point on the other end.
You'll need access to a table saw.
You'll have to decide what you want the dimensions of your board to be. The overall dimensions of the board are determined by the number of horizontal and vertical lines (h_lines and v_lines), the distance between lines horizontally and vertically (h_dist and v_dist), and the space left around the edges (edge). The board's width is
(h_lines - 1) × h_dist + 2 × edgeand its height is
(v_lines - 1) × v_dist + 2 × edge.
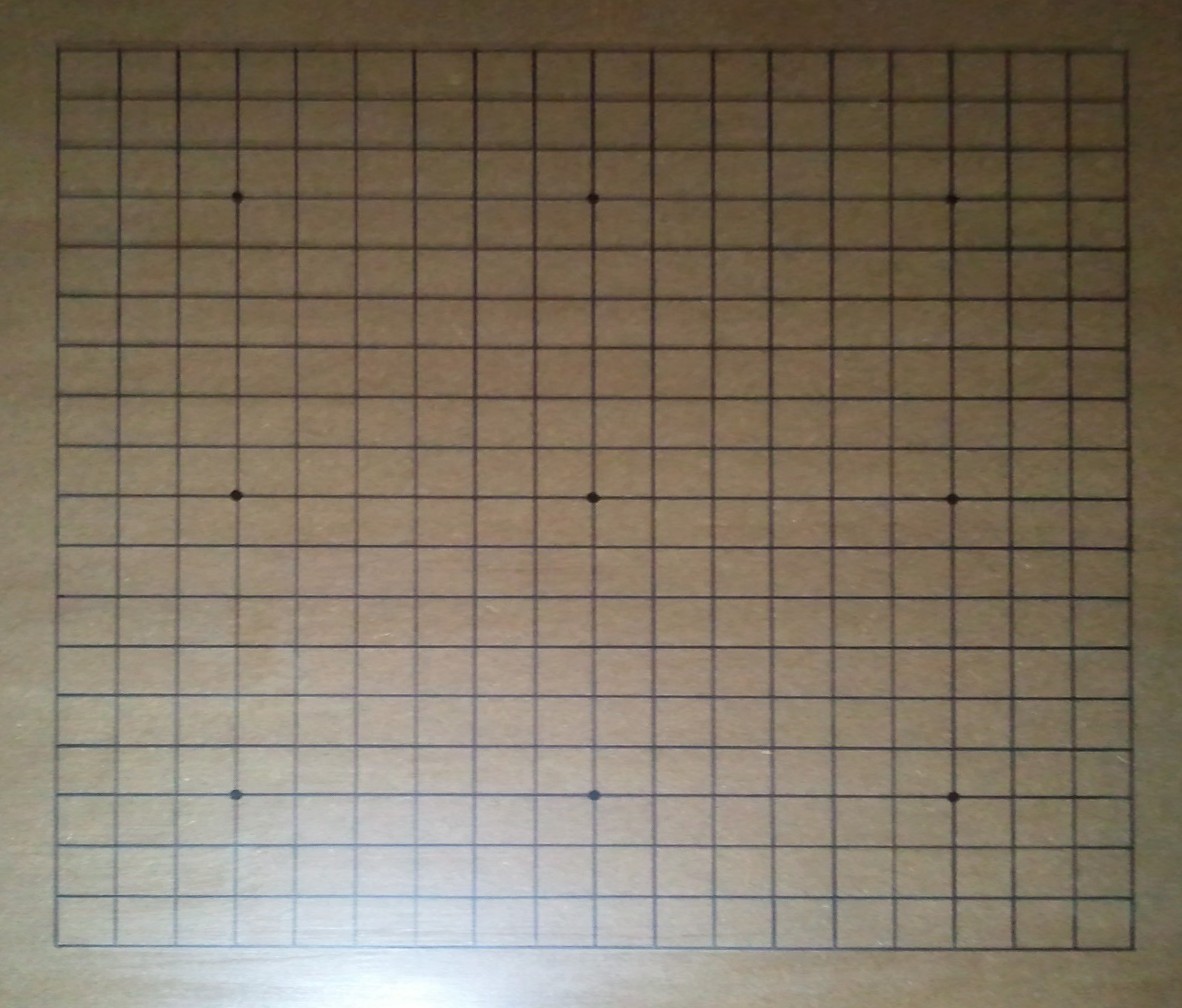
I made my board using the dimensions at the Equipment Dimensions page at Senseis's Library, which says that the distance between the lines on the board should be 22 mm horizontally and 23.7 mm vertically. I decided to leave 14 mm around all four edges. This means that my 19 × 19 board is 18 × 22 + 2 × 14 = 424 mm by 18 × 23.7 + 2 × 14 = 454.6 mm. Use these formulas to make a board with different line or edge spacing or a board of a different size. (You may want to use a smaller line spacing if you bought a set of stones that are smaller than most.)
Coincidentally, 454.6 mm is slightly less than 18 inches (= 457.2 mm). You may be able to find a pre-cut piece of MDF that is 18 inches by 18 inches; then you only have to cut it down a little bit. This will be more convenient than cutting a large piece into smaller pieces.
I've written a PostScript program that draws a board using these dimensions. (If you know a little PostScript, you can tweak it to use different dimensions.) It might be useful to check your board against. People have talked about screen printing the lines on a go board. I haven't done it, but you might be able to use the output of the program to help you do it.
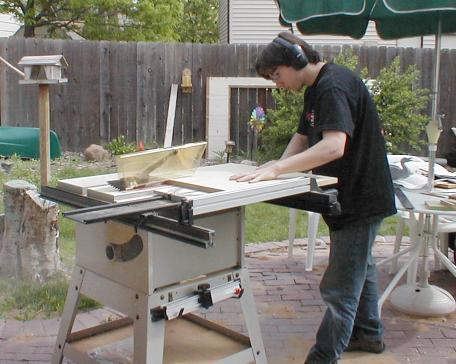
The first thing to do is cut the MDF to size on a table saw. Mark the edges of the board using your T-square and ruler.
Wear eye and ear protection and ask someone for help if you need it.
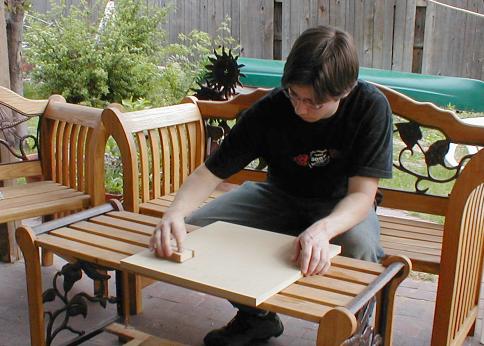
Lightly sand the board to prepare it to accept the polyurethane. Wrapping the sandpaper around a small scrap of MDF helps keep the corners of the board sharp. Also sand off pencil marks and minor scratches.
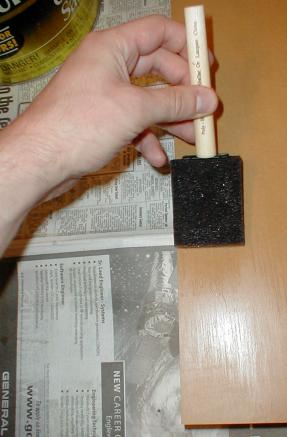
Follow the directions on the can of polyurethane. Remove all dust from the board and apply one coat to the top and sides of the board using a foam brush. Put the board in a dust-free place to dry and put it on little blocks to keep it off the table or floor. Let it dry for about four hours, then turn it over and apply a coat to the other side.
Don't worry if the color of the board doesn't look completely even; it will even out as it dries.
Be sure to apply the polyurethane in a well-ventilated area.
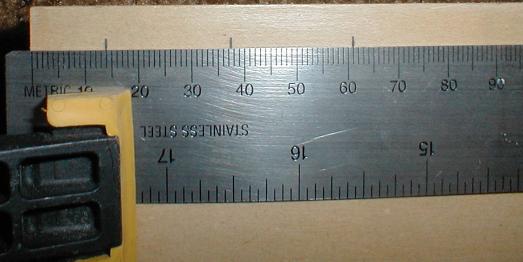
Clamp your ruler parallel to one of the edges of the board, with zero at the perpendicular edge. With a sharp pencil, mark the center of each of the lines. If you're using my dimensions, put marks at
14, 36, 58, 80, 102, 124, 146, 168, 190, 212, 234, 256, 278, 300, 322, 344, 366, 388, and 410 mmalong the top or bottom edge and at
14, 37.7, 61.4, 85.1, 108.8, 132.5, 156.2, 179.9, 203.6, 227.3, 251, 274.7, 298.4, 322.1, 345.8, 369.5, 393.2, 416.9, and 440.6 mmalong the left or right edge.
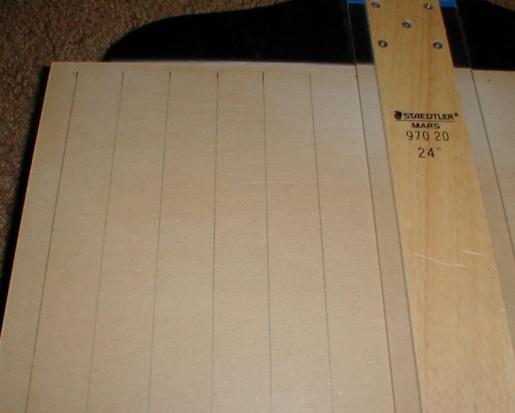
Using the T-square, lightly pencil in a line at each of your marks. When you've drawn all the lines, check visually to make sure that everything looks right.
You could draw the lines in ink directly without first marking in pencil, but using a pencil makes it easier to correct mistakes.
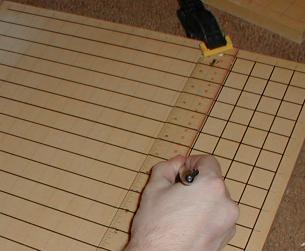
Clamp your ruler along each of your lines and draw the lines using a fine-point permanent marker. You want the ink to go right over the top of the pencil lines, so it's necessary to offset the ruler about .75 mm (half of the line thickness) from the pencil lines.
Draw each line in one even motion, keeping the marker at the same angle. I recommend drawing each line only once; going over the lines tends to make their thicknesses uneven.
You can use the T-square for this step if you don't mind getting ink on it.
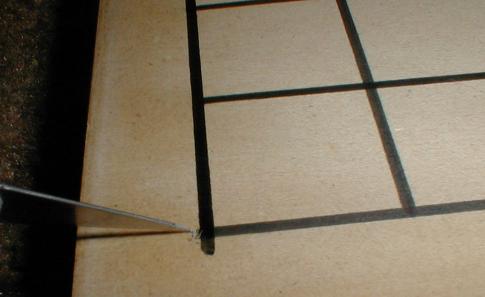
Use a craft knife or razor blade to scrape off any small mistakes and make the corners square.
If you've made a big mistake (say, drawing a line in the wrong place because of a mismeasurement), you can remove it by sanding it off. This will cause the color of the finished board to differ slightly in that area.
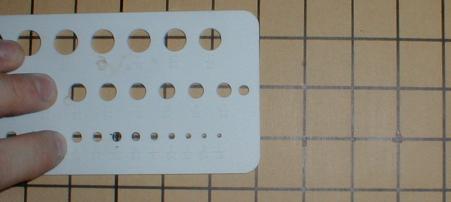
Find something flat with a hole about 4 mm in diameter. I used the 5/32-inch hole in a drill gauge. Visually center the hole over each star point intersection. Use the ultra fine-point permanent marker to draw the outline of the star point marker. Remove the stencil and fill in the outline.
I had disappointing results trying to draw the star point markers with the fine-point marker. It didn't reach the entire perimeter of the hole, so the circles were uneven. That's why I recommend using an ultra fine-point marker.
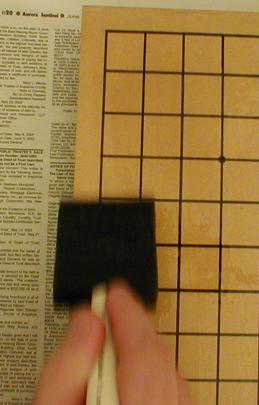
Remove all dust from the board and apply a coat of polyurethane as you did in Applying the first coat of polyurethane above. Let the board dry for at least 24 hours before you use it.
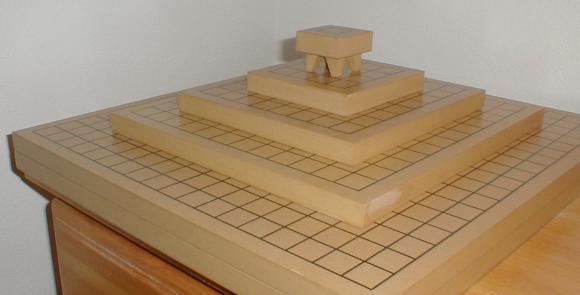
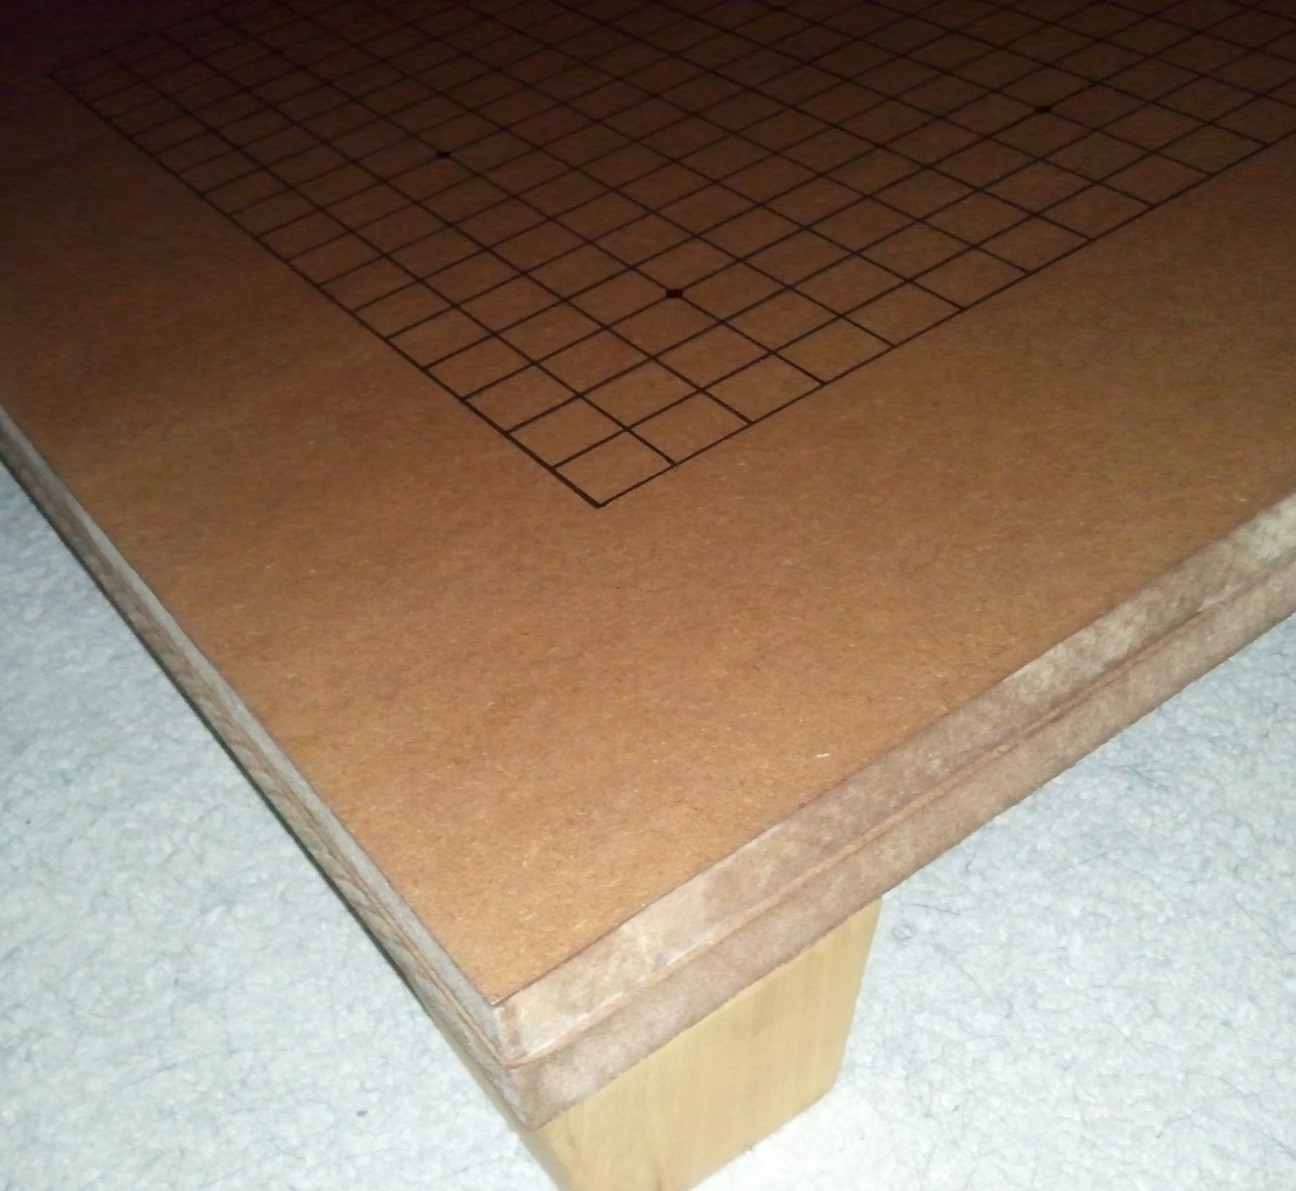
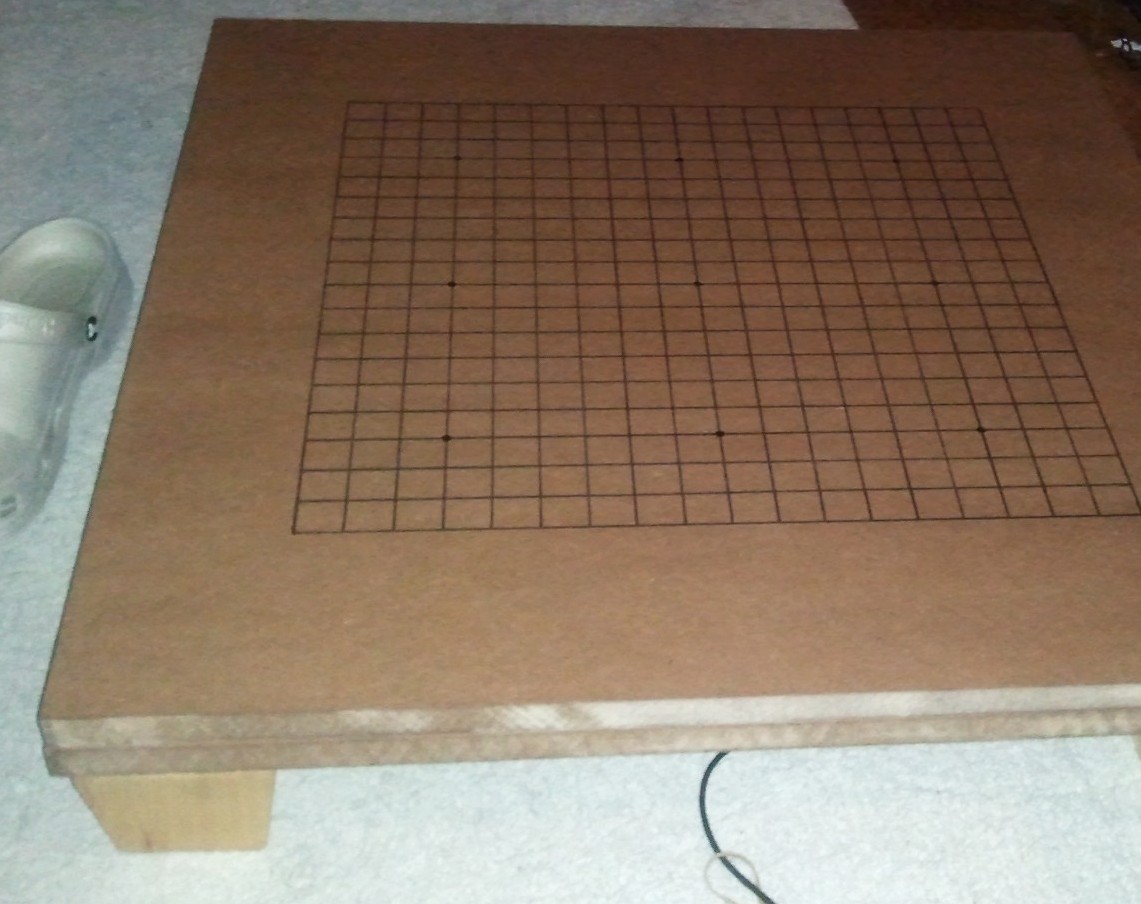
You can modify these instructions slightly to make different kinds of boards. I made a family of boards: two 19 × 19 and one each of 13 × 13, 9 × 9, 5 × 5, and 2 × 2. Notice how I missed a spot in the finish of the 13 × 13 board. Be more careful than I was!
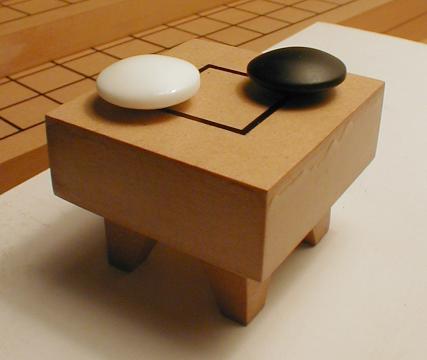
The most unique one is the 2 × 2 floor board. I made bevel cuts in the same MDF I used for the board to make the legs. I attached the legs with wood glue. Here the board displays the opening of perfect play on a 2 × 2 board:
Brad Rose offers these tips for applying the finish.
For the first coat of polyurethane:
For the later coats of polyurethane:
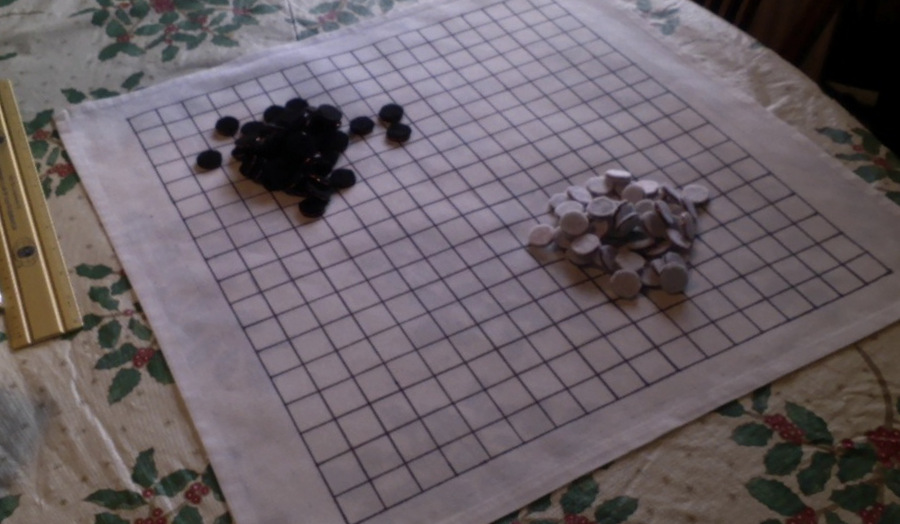
Jesse Thom made a board on cloth with felted pennies for stones.
Juanita Coram sent photos of a floor board she made with legs. The lines look really sharp!
Here is a nice reversible floor board by Paul Liles.
A board with wood veneer and routed lines by D. Cooper Stevenson.
These instructions are not copyrighted; there is no restriction on their use, modification and redistribution for any purpose, commercial or non-commercial.
Feel free to contact me with questions or modifications to these instructions. If you make a board using these intructions, I'd like to hear how it turned out. You can email me at david@bamsoftware.com.